Changing Your Picture
Your picture can be a photograph of you or a .jpg clipart image. Your picture will show on the Library next to your lesson plan submissions and on My Classroom Connection. You can personalize it with My Lesson Planner!
Select from one of the following Training Areas.
Set up Time: 3 Minutes
Before you begin, make sure the picture you will use is located in a folder you can find on your computer.
Hover your mouse over the Quick Links menu option located at the top-right of your page, and then select Manage Account.
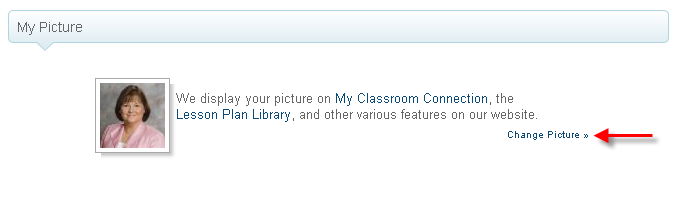
Click on Change Picture.
The instructions on the Teacher Image Upload Wizard are simple and easy to follow.
Browse for the image of your picture and click the Upload button to continue to the next step.
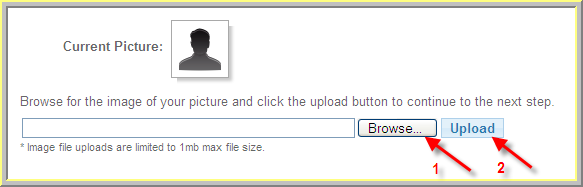
The site will show you your computer files to help you locate a jpg image. When you find the picture, click on the picture file, then Open. The location of the image will fill in the Browse box. Click Upload and your image will appear. If you are happy with the way it looks, you can click Crop and your image will upload to your account.
If you would rather have just a portion of the picture show, click and drag over the area you wish to show. You can click and drag the crop box, as well as stretch it
from the corners.
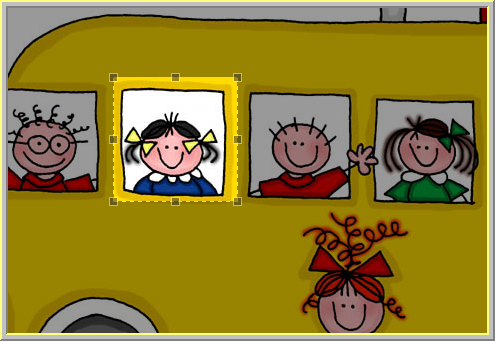
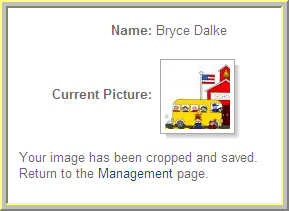
When you are finished cropping your image, click on Crop Image and you will return to your Manage Tab with your new cropped image.
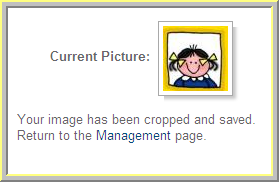
You can change the picture at any time by returning to the Manage Tab.